Blog: Physical Computing
ITPG-GT 2301-005
Tutor: Tom
WEEK 6
Part I:
Serial Communication: With P5
Trying to understand the concept
To be honest, it was not that easy in the beginning: it took me a while to understand how the data is passed between devices, ASCII & binary and stuff like that.
Anyway after knowing something about the basics, I start to try it out, as it showed in lab:


Yes I admit it. There were some stupid mistakes I've made. The port names, the functions I tried to write based on my own understanding...
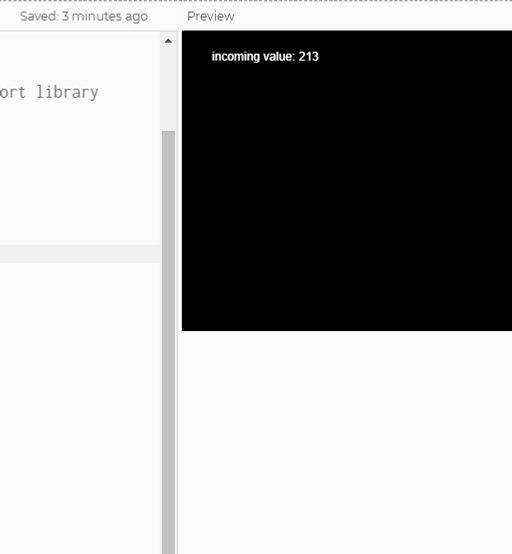
However, I think these are also valuable and helped me to get a deeper understanding of the inner logic behind it. And the results are good and I could think of some interactions or more patterns I could do with P5 already:


The next attempt was to trying the reverse way, of controlling the circuit using P5.
It all went smoothly, the readings were controlled well, and there was once there was no signal but fixed it by opening and connecting with port in order (Arduino IDE, p5 Serial Control).
However my LED didn't response... It didn't light up at all. I changed the output voltage, I changed the resistor, but nothing really changed.
The readings were good, and the signal received were also seemed normally.

Eventually I gave up. The LED might be broken; the resistor might still not be right, I remember I used the 100 Ohm resistor before, and that of my only one had been lost, anyway since the reading was good I think I can understand the serial communication and connection between Arduino and P5.
I can think of some cool ideas of doing the next assignment, and connecting with devices can make great possibilities.